
Have your neighbours put up their twinkling lights yet? Or has your social feed been filled with Christmas tree decorations? Mine have! It’s undeniable – Christmas is nearly upon us!
As the festive season approaches, I can say for certain our hearts are aglow with the anticipation of joy, warmth, and the magic that this time of year brings. In the spirit of celebrating creativity and spreading cheer, we welcome you to a special journey through the enchanting world of Pink Ink Designs.
Pink Ink Designs is more than a brand; it’s an embodiment of artistic passion and a celebration of the extraordinary. From intricately designed stamps to stencil collections, Pink Ink Designs beckons craft enthusiasts and artistic souls alike to explore and elevate their creative endeavours.
The Team Behind Pink Ink Designs
Cathie Shuttleworth and Mel Dickson are the fantastic creative team behind the ever-popular mixed media brand Pink Ink Designs. Cathie is a trained artist and together they collaborate on subject matter to create their unique hand drawn images.

Pink Ink Designs began its journey with a range of gorgeous hand drawn printed fabric designs which quickly progressed into clear stamp sets, at the request of its loyal fan base. Going from strength to strength the brand now also includes an extensive portfolio of colouring media, stencils, decorative papers, rice papers and die sets.
Gorgeous Stamps Sets
The beautifully illustrated clear stamp sets are made from a high-quality photopolymer, making them easy to position and giving an excellent print image.
Each set includes a main focal point and multiple complementing elements providing lots of inspiration and choice when creating, achieving a truly bespoke finish. The stamps can be used on cards, scrapbook pages, paper, fabric and many other surfaces.
Pink Ink Designs Festive Inspiration
Hand-drawn by Cathie Shuttleworth, there are six gorgeous new additions to the well-loved Christmas Series from Pink Ink Designs.
Three of the new designs feature the ever popular Twelve Days of Christmas characters; Three French Hens, Two Turtle Doves and a Partridge In A Pear Tree!
The additional three designs are all wonderfully traditional in their nature featuring a Christmas tree, a Christmas train and a cute Christmas mouse called ‘Mouserella’.
Perfect Partner
Pink Ink Designs Ink It is the perfect colouring partner to the stamps. It’s a vibrant, fluid watercolour ink that is suitable for a wide range of colouring techniques. The inks are transparent & dye-based, perfect for creating washes or details on projects and can be used on any watercolour ready surface. You can re-wet the ink so that you can continue to alter your project later. Each colour comes in a bottle with a handy fitted pipette, offering great control for accurately mixing colours or for dropping colour straight onto a palette or artwork. Use for painting, illustration, calligraphy, and lots more. Available in 10 colours in a 20ml bottle.
Christmas Pop-Up Book Created By Sheila Walsh

Sheila is in the fabulous Pink Ink Designs design team and has created this gorgeous pop-up book using the Festive stamps and Ink It watercolour inks.
See how she made 4 pages from the book in the step-by-step instructions below and watch the video tutorial to see the complete book in action!
Video Tutorial
Step-By-Step Instructions
The first thing to do is prepare the base pages for the book. Take 4 pieces of A4 cardstock and score them in the middle then fold in half as shown below.

Making Page 1 With The Pink Ink Designs Three French Hens Stamp Set
Take one piece of the folded A4 card and lay it flat open. Colour the whole page with your favourite ink pad. Spray with water, then dab it with kitchen towel to dry. Start around the edges of the cardstock and let it fade away in the middle.

Cut the following measurements as shown in the photo below.

Then stamp the three French hens and small baubles.

Colour them using the Ink It watercolour inks then fussy cut them as shown in the photo below.

To assemble the first page, lay flat your base page. Then fold the coloured French hens in half and add glue to half an inch score line and angle it to base page score line as shown below.

Then add glue on the other half then close the whole page to let the other side adhere. Repeat the process for the second one and it should look like the photo below.

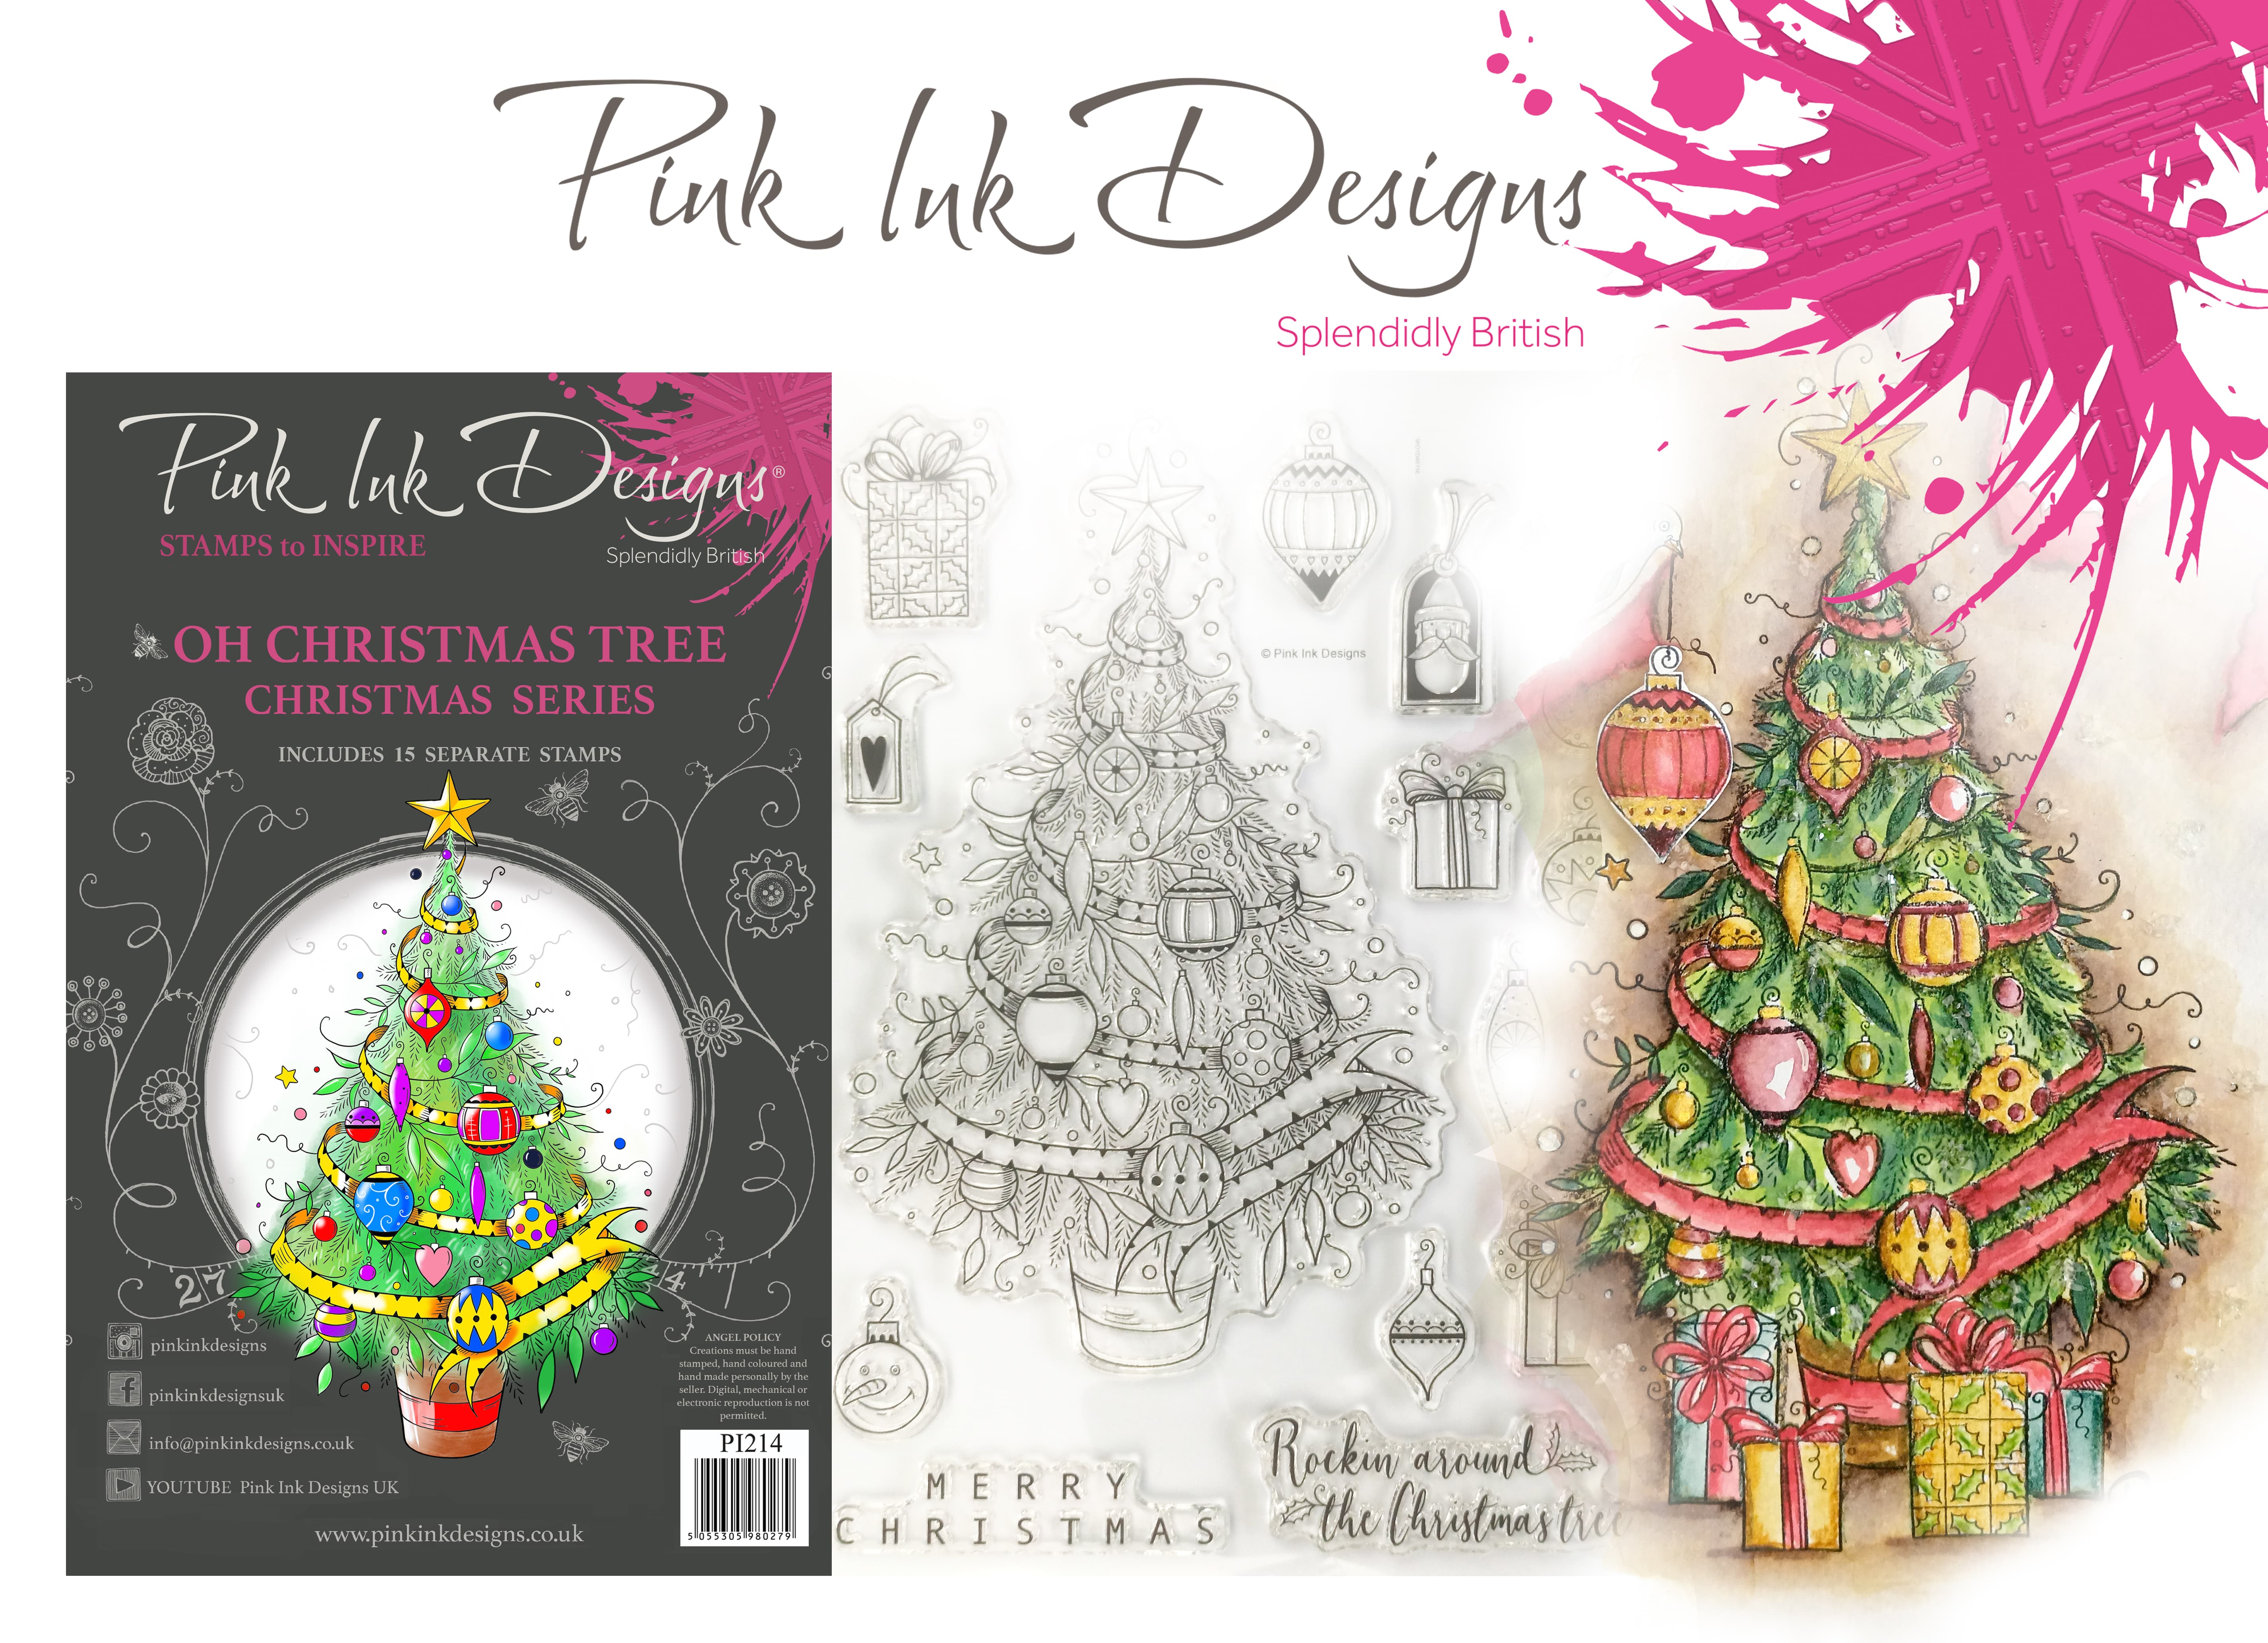
Making Page 2 With The Pink Ink Designs Oh Christmas Tree Stamp Set
Take another base page and lay it flat open, then colour it with your favourite ink pad. Spray some water and dab it with kitchen towel to dry. Then stamp the small gift stamps from the Oh Christmas Tree stamp set in a random pattern on the page as shown in the photo below.

Cut 6 ½” x 8 ¼” of cardstock. On the 6 ½” side score at ½” and on the 8 ¼” side score at 4 ⅛”. Then stamp the Christmas tree in the middle.
Cut 3” x 8 ¼” of cardstock. On the 3” side score at ½” and on the 8 ¼” side score at 4 ⅛”. Before you stamp the gifts and baubles on it, create a mask by cutting a wavy line from copy paper to create the snow look.

Colour it with Ink It watercolour inks, then fussy cut part of the image as shown in the photo below.

Assemble the pieces on the base page as shown below.


Making Page 3 With The Pink Ink Designs Mouserella Stamp Set
Take another base page and lay it flat. Colour it with your favourite ink pad and use the small Christmas tree from the Mouserella stamp set and stamp it on edges of the base page.

Cut a piece of cardstock measuring 6 ½” x 8 ¼”. On the 6 ½ side score at ½”, then on the 8 ¼” side score at 4 ⅛”. Make a mask using copy paper and light blue ink pad to make the snow. Then colour the background with pink and blue. Stamp the small Christmas on the background and be sure to use the mask before stamping the trees.


Cut a piece of cardstock measuring 5 ½” x 8 ¼”. On the 5 ½” side score at ½” and on the 8 ¼” score at 4 ⅛”. Stamp Mouserella on the middle but make sure the score line is on the Christmas tree. Colour it with Ink it watercolour inks then fussy cut part of the image as shown in the photo below.


Assemble the pieces on the base page, make sure there nothing is sticking out when you fold the page. Glue one side at a time.


Making Page 4 With The Pink Ink Designs Christ-Mouse Express Stamp Set
Take the fourth base page and lay it flat open and colour it with your favourite ink pad. Stamp the stars from the Christ-Mouse express stamp set on the whole page.

Cut a piece of cardstock measuring 5 ½” x 8 ¼”. On the 5 ½” side score at ½” and on the 8 ¼” side score at 4 ⅛”. Then create a snow scene using your chosen ink pad and the small Christmas tree from Mouserella stamp set.
Cut another piece of cardstock measuring 5” x 8 ¼”. On the 5” side score at ½” and on the 8 ¼ side score at 4 ⅛”. Stamp the train and make sure that the score line will be beside the little red light on the train when you fold it.
Colour it with Ink It watercolour inks and then fussy cut it as shown in the photo below.

Glue the pieces to the base page and when finished it should look like the 2nd photo below.


Stamp the sentiments from the stamp sets that was used and emboss them with clear embossing powder. Then adhere each one to the corresponding pages.

Making The Front Cover
Cut a piece of cardstock measuring 8 ¼” x 5 ⅞”, stamp Mouserella on it and create a snow scene on the background, then ink the edges using a blue ink pad. Stamp some stars around the edges as shown in the photo below.


Colour the main image with Ink it watercolour inks, add some highlights using a white pen.

Making The Back Cover
Cut a piece of cardstock measuring 8 ¼” x 5 ⅞”, create a snow scene and stamp the little mice silhouette.

Making The Book Spine
Cut a piece of cardstock measures 8 ¼” x 2 ½”, on the 2 ½” side score at ½” then score every grove on your scoring board until you reach the 2” mark.

Making The Book Closure
Cut a piece of cardstock measuring 1” x 5 ½”, on the 5 ½” side score at 2 ¾” and fold it half. Then score at ¾”, score every grove on your scoring board until you left with ¾”. Ink it and glue the folded strip and add a magnet at ¾” end. It should look like the photo below.

Putting The Pages Together
Glue the first page to the second page, make sure you line them together, it’s very important to leave an inch without glue near the spine of the page. Repeat the process to all the pages.

To assemble the cover, glue the cover on the half an inch side of the spine and the back cover on the other side. It should look like photo below.

Flip the assembled cover and add the magnet to the front cover and add the closure to the back cover as shown in the photo below.

Take the assembled pages and lay it on the assembled cover. Glue the last page to the back cover, it should line up together. Then glue the front cover to the first page.

The finished pop-up book!

Infuse Your Holidays with Artistic Magic
As we wrap up this festive journey through Pink Ink Designs and the enchanting world of their Christmas pop-up book inspiration, let your creativity continue to sparkle and shine. May the magic of these unique designs infuse your holiday season with joy, warmth, and the spirit of handmade artistry.
As you embark on your own crafting adventure, remember that every cut, fold, and stamp on your card lets your imagination create magic. Let Pink Ink Designs be your guide, illuminating the path to a season filled with personalized, heartfelt creations.
May your Christmas be merry, your creations be delightful, and your spirit be as vibrant as the inks that bring these designs to life.
You can shop more Pink Ink Designs products here.
Facebook- Pink Ink Designs
Instagram- @pinkinkdesigns